

The oven is the enemy of a July party. Your kitchen is already warm, the fridge is packed with drinks, and guests have a habit of arriving at the exact moment you would need to bake, cool and frost something. Chilled desserts sidestep the whole problem. You mix in one bowl, layer into a dish or a tray of jars, and let the refrigerator do the rest. If you have never made a no-bake dessert before, this is a good place to start.
Why No-Bake Desserts Suit Hot Weather
It is not only about avoiding the oven. Cold, creamy, fruit-forward desserts simply taste right in the heat. They also scale easily: the same recipe works as one big trifle in a glass bowl or as twenty small jars lined up on a tray.
There is one trade-off, and it is worth accepting up front. Chill time is not optional. No-bake desserts set in the refrigerator, not in the oven, so the fridge is doing the cooking. Plan on at least four hours, and overnight if you can manage it. A dessert that tastes fine straight from the bowl can be soupy on the plate if it has only had an hour to firm up.
The Four Building Blocks
Almost every no-bake dessert is a combination of the same four things. Learn them once and you can improvise from there.
Something creamy
Whipped cream, cream cheese, mascarpone, thick Greek yogurt, instant pudding, cooked custard or whipped coconut cream. Heavy cream whips best when it is genuinely cold, so take it straight from the fridge and chill your bowl and beaters if your kitchen is hot.
Something to set it
Usually the refrigerator alone does the job. When you need a firmer slice, gelatin helps: bloom it in cold water first, dissolve it completely, then let it cool slightly before folding it into cold cream, or it will seize into little threads. Follow the packet for quantities, since brands and strengths differ.
Something for flavour
Vanilla, citrus zest, espresso, cocoa, fruit purée, salted caramel, mint. Add flavour in small amounts and taste as you go. Once a dessert is chilled and layered, corrections are much harder.
Something for texture
Crushed biscuits, toasted nuts, granola, broken meringue, shaved chocolate, fresh berries. This is the layer that stops a bowl of sweet cream from being dull.
Five Ideas to Start With
- No-bake cheesecake in jars. Press crushed biscuits mixed with melted butter into the base, then spoon over a filling of cream cheese, a few tablespoons of sugar, lemon zest and folded-in whipped cream. Chill overnight.
- Icebox cake. Layer thin biscuits or sponge with whipped cream and sliced fruit. The biscuits soften overnight into something genuinely cake-like. Make it the day before you need it.
- Two-ingredient chocolate mousse. Melt chocolate, let it cool to room temperature, then fold in softly whipped cream in three additions. Chill for at least four hours.
- No-churn ice cream. Fold whipped cream into sweetened condensed milk with vanilla or fruit purée, then freeze in a loaf pan for six hours or more.
- Eton mess. Fold broken meringue, lightly crushed berries and whipped cream together just before serving. Ten minutes of work and no chilling at all.
Timing It Around the Party
Assembling too early is the most common way a good dessert goes wrong. Crumbs go soggy, meringue softens, fruit releases juice. Split the work instead.
- Two days before: toast nuts, crush biscuits, make fruit purée, wash and dry berries. Store each separately.
- The day before: make the filling and chill it in a covered bowl. If the dessert holds well — cheesecake, icebox cake, mousse — assemble it now.
- On the day: add whipped cream toppings, fresh fruit, and anything crunchy. Keep it cold until the moment you serve.
Common Beginner Mistakes
- Under-chilling. If it looks loose, give it more time before you reach for more gelatin.
- Over-whipping cream. Stop at soft peaks when you plan to fold it into something else. Cream taken too far turns grainy and eventually buttery.
- Adding warm ingredients to cold cream. Melted chocolate, dissolved gelatin and cooked custards all need to cool first.
- Too much liquid. Fruit juice, syrups and alcohol all thin a filling. Add them sparingly and taste as you go.
- Filling jars to the brim. Leave a centimetre of headroom for the topping, or you will be wiping rims all evening.
Serving Outdoors Without a Meltdown
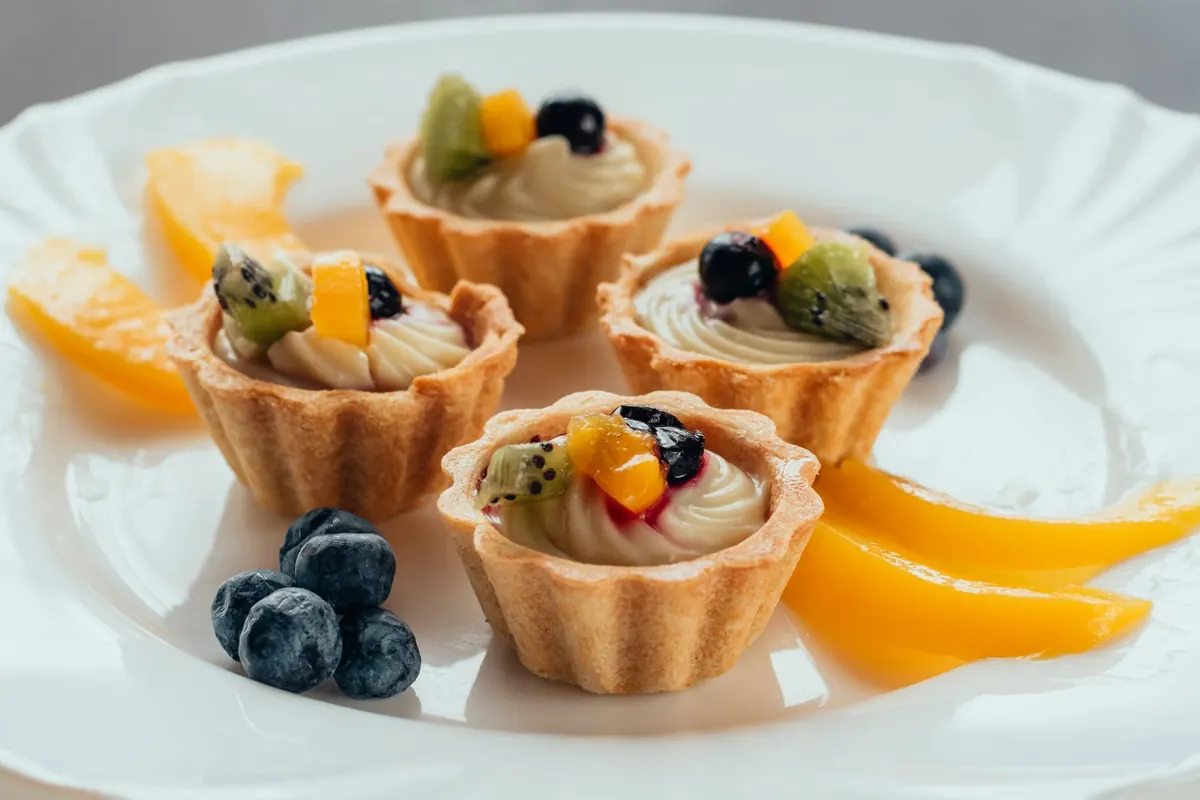
Individual jars and small cups beat one large dish when you are eating outside. They hold their shape, they are easy to carry, and nobody has to slice anything in the heat.
Keep desserts in a cooler with ice, or nest the serving bowl inside a larger bowl of ice and water. Set them out in the shade, and put them away once people have served themselves. The usual food-safety guideline is to leave perishable food at room temperature no longer than two hours, and just one hour when the temperature climbs above roughly 32°C (90°F). If you are unsure about timing, it is better to throw a portion away than to risk it.
One more note worth taking seriously: if a recipe uses raw eggs and you are serving anyone who is pregnant, elderly, very young or living with a weakened immune system, use pasteurised eggs or a cooked custard base instead, or check with a medical professional.
A Simple Plan for Your Next Party
Pick one dessert from the list above. Make it once this week, on an ordinary day, so you know how it behaves in your kitchen and how long your fridge really needs. Taste it, adjust the sugar, note what you would change. Then make it again for the party, doubled if you are feeding a crowd.
Add one fresh element on the day — berries, mint, a little lemon zest — and one crunchy element at the last minute. That combination is what makes a chilled dessert feel intentional rather than like something you assembled in a hurry. The oven stays off, the kitchen stays cool, and you get to sit down with your guests instead of hovering by the stove.
Photo: Iulian Patrascu / Pexels